I will not be taking anymore orders for Homeworlds figures effective November 30, 2020 in order to move on to other projects.
Wednesday, November 18, 2020
Monday, November 9, 2020
Homeworld Warranty/Guarantee
Im not perfect. Sometimes shit really does just happen. Whatever the reason...point is...I got your back.
If I cant fix it...I'll replace it...for the first 30 days. And I will cover half the shipping charges. Thats my warranty.
After that...say you accidentally step or sit on it...Ill work with you to get it fixed. :-)
As long as I can work with my hands...you'll be able to get them fixed if something should happen. Thats my Guarantee. :-)
Wednesday, November 4, 2020
HOMEWORLD OWNS MICRONAUTS.CA
Did you know...Homeworld owns micronauts.ca??? Yes that's right.
Instead of trying to remember something something dot something else...
micronauts.ca is your quick and easy direct access to Homeworld. :-)
There's Always Something!!!
Instead of trying to remember something something dot something else...
micronauts.ca is your quick and easy direct access to Homeworld. :-)
There's Always Something!!!
Thursday, October 29, 2020
HOMEWORLDS OTHER SALE ITEMS
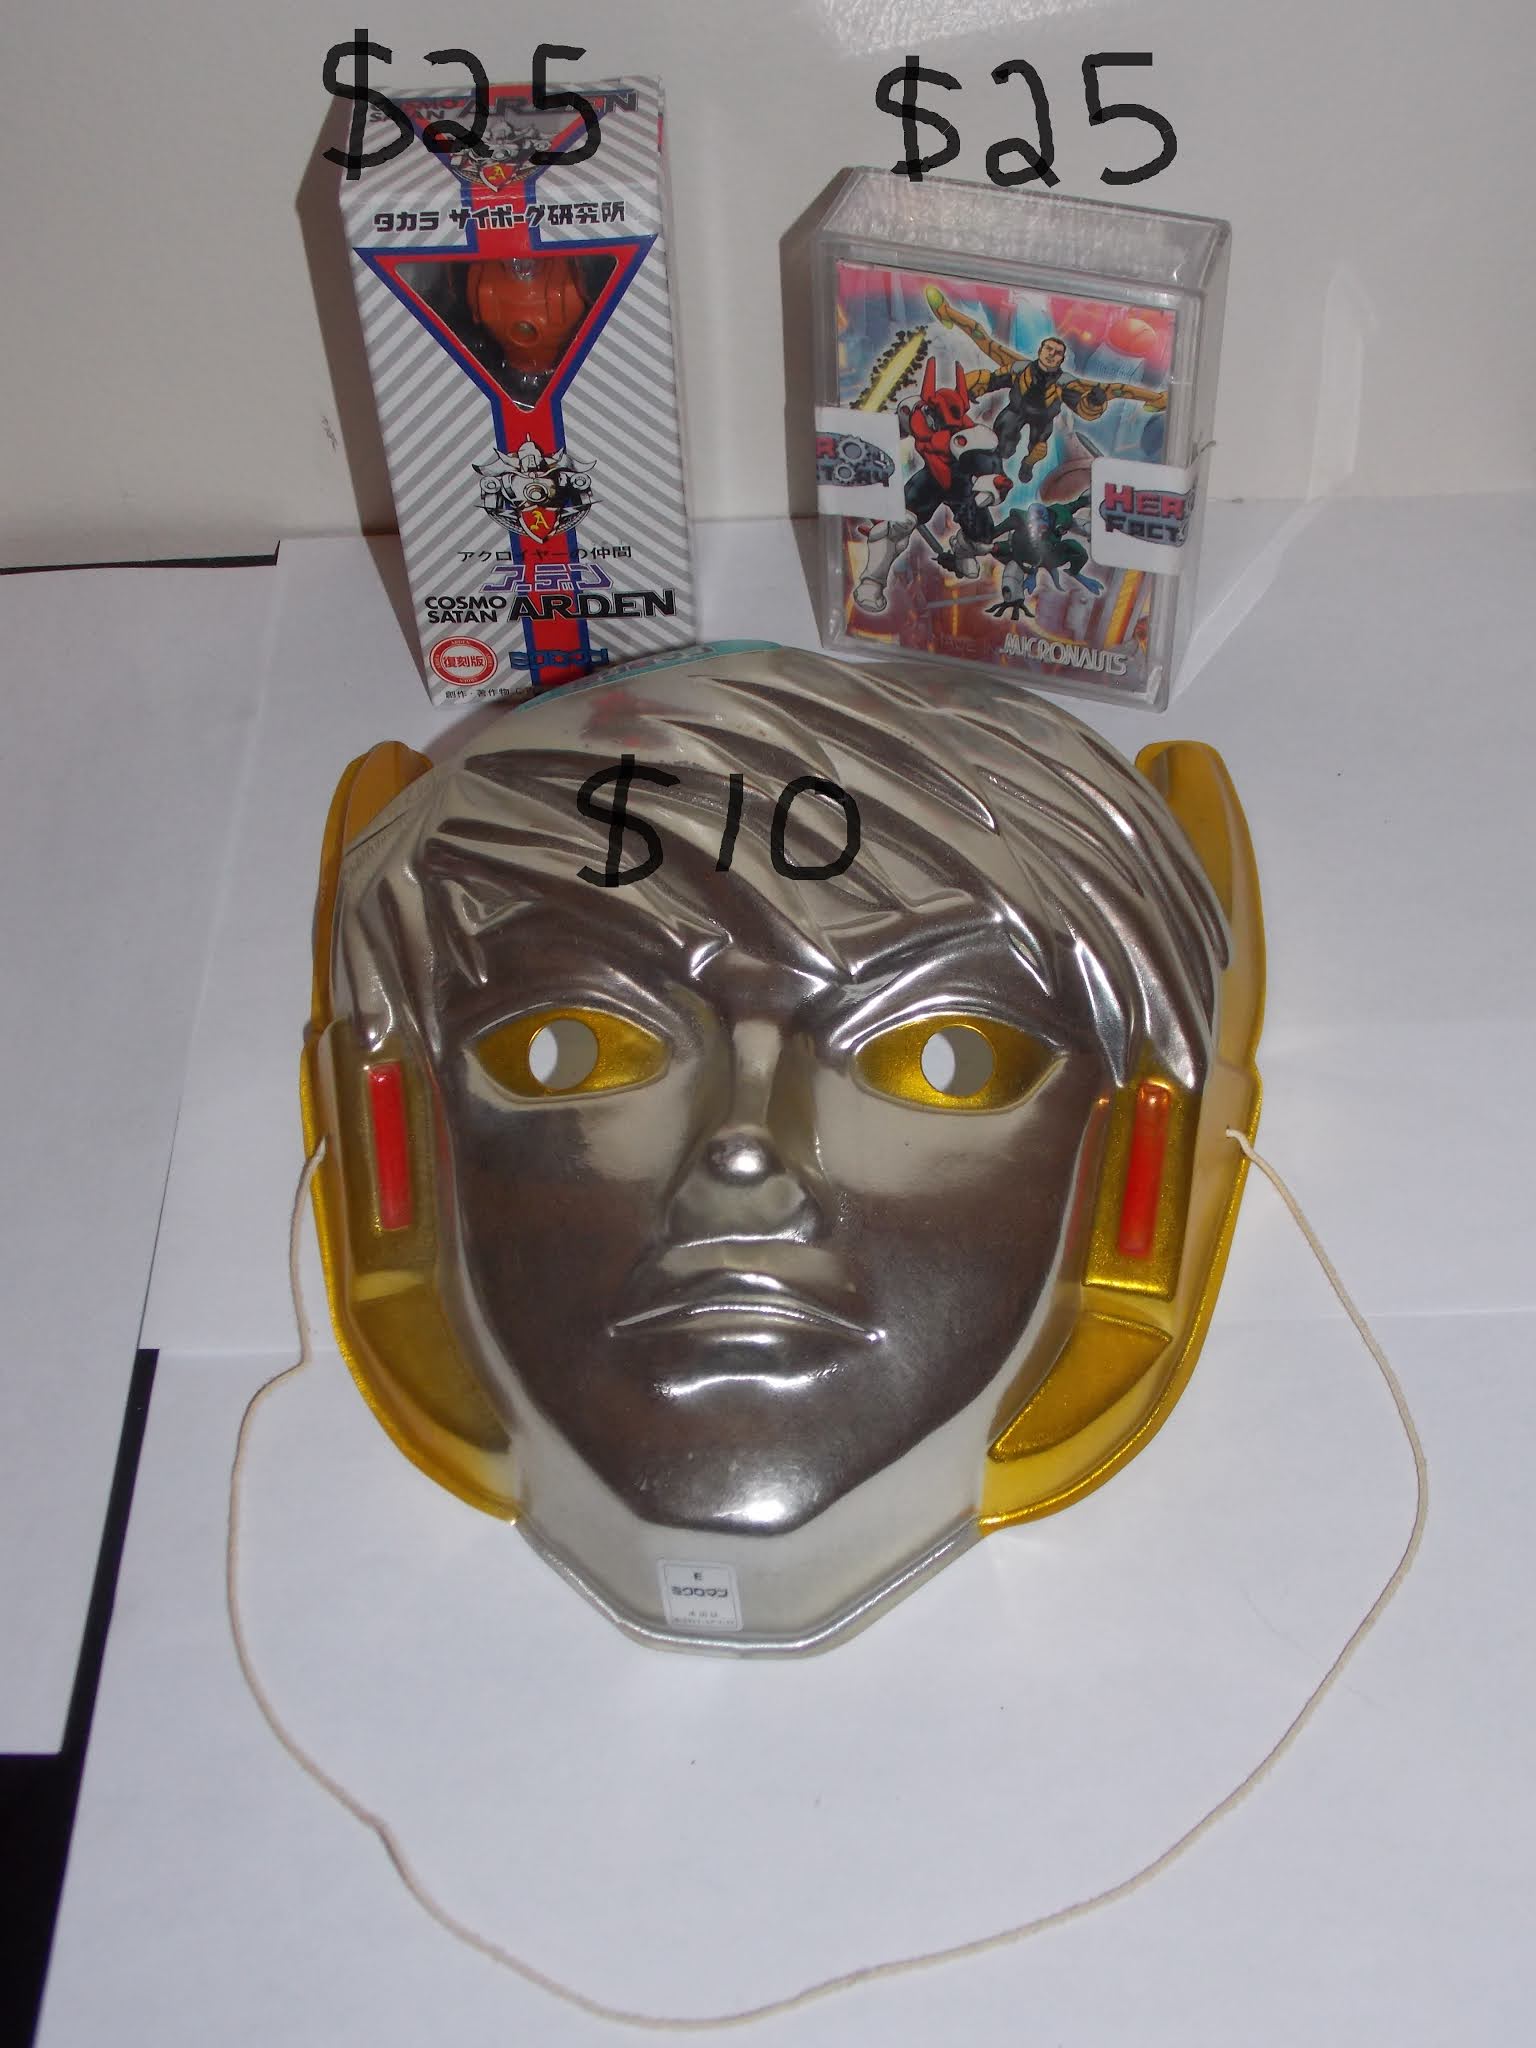
HERE ARE THE ITEMS THAT ARE AVAILABLE. PRICES ARE MARKED.
ITEMS WILL BE REMOVED AS THEY GET SOLD
IF YOU HAVE ANY QUESTIONS OR REQUIRE FURTHER PICTURES YOU CAN EMAIL ME AT golddober@gmail.com

 THE PALISADES LEGS ARE $8.00...EACH.


 UNCUT TRADING CARD SETS. FRONT AND BACK. 2 AVAILABLE.


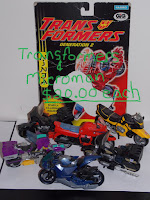

 THE MINI TRANSFORMER CARS HAVE BEEN REDUCED TO $5.00 EACH AND THE AZONE AND MARIA SARCOPHAGUS ARE $7.50 EACH


 HOMEWORLDS FIGURE EVENT KICKS OFF SATURDAY OCTOBER 31/202 AT 12:00 NOON PACIFIC STANDARD TIME.
ORDERING AND PAYMENT INFORMATION IS YET TO COME.
IF YOU HAVE ANY QUESTIONS OR REQUIRE FURTHER PICTURES YOU CAN EMAIL ME AT golddober@gmail.com


ORDERING AND PAYMENT INFORMATION IS YET TO COME.
Saturday, October 24, 2020
Homeworlds Figures Ordering on HOLD.
Homeworlds Figures can be ordered including Custom colors at no extra charge.
To order send an email to golddober@gmail.com
All Transactions handled through PayPal
Homeworld Figures Available
Roboid 1
All Other Homeworld Figures Have Sold Out
Pictures and Prices for Homeworlds October 31 Figure Event. Flight Commander/Sultan/Overlord/Jade/Crimson Warrior...$79.99 US
 Roboid/Deimos...$74.99 US
Unitrons........$59.99 US currently not shown
To order send an email to golddober@gmail.com
All Transactions handled through PayPal
Homeworld Figures Available
Roboid 1
All Other Homeworld Figures Have Sold Out
Pictures and Prices for Homeworlds October 31 Figure Event.


Unitrons........$59.99 US currently not shown
Sunday, October 18, 2020
PERSONALLY THANK YOU CONTINUED...
With all the changes Blogger has made I can only run so many lines to a post or I lose sight of everything
and zooming doesnt help. Then I cant update or make changes because the update button is off the screen and hidden.
ANYWAYS...WILL Jones deserves a HUGE Thank You for allowing me to make changes to his model and
for allowing me to use his measurements to make my masters. Thank you Will.
Really...thank you.
 Getting back to the beginning...Roboid...Where it all started. Next to all you people who have been
gracious enough to support these projects...the next biggest thanks for ALL of this...
Getting back to the beginning...Roboid...Where it all started. Next to all you people who have been
gracious enough to support these projects...the next biggest thanks for ALL of this...
 Is Bryan Wilkinson.
You see...Bryan approached me with a project. Roboid...although that was the name I gave it.
And initially...I turned Bryan down. After some continual pressure from him I gave in and eventually I consented and tried casting making the Centaurus my 1st casting project.
Thank you Bry. You were key to getting any of these and future figures made. LIERTALLY...
Bryan also provided the original figure for both the base Roboid figure but also the base JEAG for the rest of the mini Magno figures.
Thank you for continuing to pressure me Bryan and thank you to all of you. I hope I can
continue to make figures and more. I have truly come to enjoy casting. And I owe it all to all of you.
And it takes care of all my OCD's. :-)
Is Bryan Wilkinson.
You see...Bryan approached me with a project. Roboid...although that was the name I gave it.
And initially...I turned Bryan down. After some continual pressure from him I gave in and eventually I consented and tried casting making the Centaurus my 1st casting project.
Thank you Bry. You were key to getting any of these and future figures made. LIERTALLY...
Bryan also provided the original figure for both the base Roboid figure but also the base JEAG for the rest of the mini Magno figures.
Thank you for continuing to pressure me Bryan and thank you to all of you. I hope I can
continue to make figures and more. I have truly come to enjoy casting. And I owe it all to all of you.
And it takes care of all my OCD's. :-)


I WOULD PERSONALLY LIKE TO THANK THE FOLLOWING PEOPLE...
While I have been fortunate enough that casting has been truly just an extension of my abilities
and years of training (30+)of being a machinist...NONE of what I have made could I have done without help.
I owe a debt of thanks to each and every person I am about to list for these past figures.
First...Roboid...Im going to come back to this...But Roboid was made with the help of
Adam Middleton and Alexis Dyer. I hope Im spelling these right.
Adam Middleton supplied the back roller assembly. Alexis is responsible for the card art.
 I think he did an awesome job with it. Assigning his signature of Argonaut X to it.
This is the back side.
I think he did an awesome job with it. Assigning his signature of Argonaut X to it.
This is the back side.
 Thank you both for your help.
Next is Flight Commander. I would like to thank Michael Jaecks. He sculpted the head for
Flight Commander. It is not 3D printed. It needed some tweaking for casting but looks fantastic. Michael did simply an awesome job.
Next, also involved in the making of the original Flight Commander is Bryan Wilkinson.
Thank you both for your help.
Next is Flight Commander. I would like to thank Michael Jaecks. He sculpted the head for
Flight Commander. It is not 3D printed. It needed some tweaking for casting but looks fantastic. Michael did simply an awesome job.
Next, also involved in the making of the original Flight Commander is Bryan Wilkinson.
 Bryan did the card layout both front and back. And while I do say thank you...
Bryans help on this was immense and I downplay the thanks due him.
Also due in larger part to Bryan...Sultan is also not happening without Bryans help.
Bryan is responsible for both the front and back card design of both Flight Commander AND Sultan.
As well as the back of the Card for Overlord.
Bryan did the card layout both front and back. And while I do say thank you...
Bryans help on this was immense and I downplay the thanks due him.
Also due in larger part to Bryan...Sultan is also not happening without Bryans help.
Bryan is responsible for both the front and back card design of both Flight Commander AND Sultan.
As well as the back of the Card for Overlord.
 He 3D modelled the head for Sultan and also the later addition of the missile pack
for both figures as well.
Overlord has Dave Waugh to thank. Dave is responsible for the card front. Dave is AWESOME!!!
An awesome job well worth the commission. Again we come back to Bryan,
who as I mentioned did the back of the card. Bryan also 3D modelled the head.
He 3D modelled the head for Sultan and also the later addition of the missile pack
for both figures as well.
Overlord has Dave Waugh to thank. Dave is responsible for the card front. Dave is AWESOME!!!
An awesome job well worth the commission. Again we come back to Bryan,
who as I mentioned did the back of the card. Bryan also 3D modelled the head.
 And while I am at...continueing to roll Bryan is also responsible for the 3D modelling of the Deimos head
and naming of Deimos.
And while I am at...continueing to roll Bryan is also responsible for the 3D modelling of the Deimos head
and naming of Deimos.
 Next we have Jade and Crimson Warrior. A big thanks once again to Bryan for the missile pack modelling and also
Lee Burbridge who also runs Big Man Toys.
Lee did the 3D modelling of the head used for both Jade and Crimson Warrior.
Next we have Jade and Crimson Warrior. A big thanks once again to Bryan for the missile pack modelling and also
Lee Burbridge who also runs Big Man Toys.
Lee did the 3D modelling of the head used for both Jade and Crimson Warrior.
 Continued in the next post.


Friday, October 2, 2020
No Fancy Tools Here
Originally for the first 5 or 6 thigh casts I dont have to do this. But I cant keep making
new molds every 5 or 6 casts. So when a mold rips I might suffer the damage.
The thigh molds are very thin at the tips at the knee joint where the rivet goes. so the silicone
in the middle of the joint gets ripped out by wear. It doesnt matter how gentle you are.
So I suffer the damage and using my jackknife and exacto knife and a hacksaw blade I carve it out.
It takes about 45 minutes a thigh for acrylic. And while we are at it,
I drill out the hole by hand because it is so hard to clamp these pieces firmly.
Using power tools just guarantees disaster at some point without firm clamping. I have more control
and less pieces get tossed. I have more callouses too. lol but I end up with a better product.


Sunday, September 13, 2020
MISSILE PACK 5MM PIN
I'm trying my dad's Samsung tablet so I thought I'd make an article of it.
Here is a picture of the 5mm pin I made for the missile pack holders.
When I made a new mold I forgot to check the size of the pin and just made them. So for half of the figures I was forced to make and implement a 5mm pin. there isn't much material there so that's why I drilled out the one end and put a groove in it. To give the resin something to grab onto. it works great. So i will be doing this from now on.
Why didn't I do it sooner? The laws of physics weren't giving me an issue. Previous molds created casts that were on size or even bigger. Don't ask. This last mold created casts that shrunk more than 5%. i cant rely on chance.
I will be doing this from now. Figures made prior and from another mold weren't affected. So they won't have an acrylic 5mm pin and neither will painted figures when I start making them.


Thursday, September 3, 2020
Head Casts Unavailable Separately
I have been asked a few times now and I am terribly sorry...Cast versions ONLY of the heads of the figures I make are not available for sale.
Im sorry if this causes any inconveniance.
Monday, August 31, 2020
I THOUGHT PHYSICS HAD LAWS???
I have a little hiccup that is costing me ALOT of time and extra resources. It seems that while I was able to perfect some molds, others are opposing the laws of physics. ALL the peg holes in the thighs and in the chest pieces have to be filled in and drilled back out manually. The holes DID NOT shrink and in fact in 2 cases the holes got bigger. WTF??? SO many variables I cant control. Its another reason I have gone to using 5mm Acrylic rod wherever I can so I have some standard for 5mm interchangeability.
So I have to waste a small amount of resin for a few drops to fill a hole. You can only go so small on the amounts to be mixed.
I am doing my best to make these figures as interchangeable as possible. It seems like every time I put out a figure its just a hair better than the last one as better ways of doing things become apparent. Every time I think...that's it...that's as good as I can make it...something else makes itself known that makes it worth my while to incorporate into the building process.
So where am I at this point??? At least 3 weeks away. I have 15 figures left to fit and assemble and then they all have to be detailed.
This sure is doing wonders for my self discipline. :-)
Sunday, July 12, 2020
UNITRON
I have all the parts made top finish the last bunch of figures I am making as of today. I had time to squeeze in 5 extra figures...a mini Microtron that I am renaming UNITRON. I am also squeezing in 4 additional clear urethane figures...I will have over 50 figures available plus Micronauts and some Microman and Transformers and other assorted figures going cheap cheap cheap. Im expecting to have everything ready for an event in early September.
Friday, July 3, 2020
IN MEMORY OF MY FATHER...
Sadly, my father has passed away due to cancer. He was a good man with a slightly different sense of humor dedicated to his faith.
I wish to express my sincerest thanks to all of you for your condolences and support. It's a tough aspect of life for all of us. And it is the simplest of gestures from others that help us move forward.
Please accept my thanks from my entire family.
I wish to express my sincerest thanks to all of you for your condolences and support. It's a tough aspect of life for all of us. And it is the simplest of gestures from others that help us move forward.
Please accept my thanks from my entire family.
Wednesday, June 24, 2020
5 MM ROD ARRIVED
Wow...I guess I found a steady supplier for the 5mm rod. They arrived today and EVERY rod was at size or plus 0.002"... That's really incredible. That saves me ALOT of time.
So September is looking good. :-)
So September is looking good. :-)
Tuesday, June 2, 2020
CLEAN LINES
There are many secrets to a good cast. The most important one being...MIX WELL...but there are a few other things as well. I use clay to make the beds for these molds. One of the things that helps me make a good mold is straight clean lines around the Master.
I spent 3 hours making this simple mold. I have a spot lit magnifying desk top lamp...I use my little pocketknife and trim up, pat down or otherwise trim the outside edge of the part being molded.
Yes its a bitch of a time...but here is where I will spare no expense. I don't care how long it takes...because the time spent here ensures I have a flawless cast...its worth it or all your work goes to shit before you even get started.
Sorry about the pic, but you see how straight and clean it is.

The straighter and cleaner it is, the nicer the cast, the less sanding and ultimately, the less work one needs to do. The suspension mold was needed to make this cast as this cast is my Master. Now I can mold it however I want.
Wednesday, May 27, 2020
SMUSH MOLD TYPES Preferences Tips & Ideas
Honestly... have no idea what they call various types of Smush molds.. But I am making new molds for the next figures. In doing so, I needed to make 3 different beds for the 4 different heads I am making.
I would say enclosed (smush) molds (no sprues or venting) have 3 types of molds you can prep for.
1) Imbedded. That's where you take your piece and imbed it into the clay or whatever medium you use to make your mold bed.
2) Resting. This is the easiest. This is where you seat your piece directly on the clay or other medium. Very light impression in the clay to hold it in place.
3) Elevated. This is where you have built up your piece so that it is elevated above the bed.
Examples...
Because we are using silicone, we don't have to subscribe to the half and half notion of molds. We have flexibility. So we can put our mold split line where ever we want. We cant bend the mold to aid in the release of the cast.
The one thing I HIGHLY recommend..is when orienting your master...choose the orientation that will hold the master the best once the first half of the silicone cures. This way, the master will stay in the silicone. You don't want that master to come removed or loose in the silicone before pouring the second half of the mold.
Personally, I do not like imbedding parts into the clay for that reason. It takes longer, but I prefer to build up and around the part being molded. It makes it easier to remove the clay bed after. And DO NOT FORGET to check the master. You want to brush it lightly to make sure no clay is sticking to it. That will form to the mold. Another reason why you want the master to be secure in the first half of the mold.
But for some items, imbedding is the perfect answer if you can remove the clay bed without disturbing the master.
I would say enclosed (smush) molds (no sprues or venting) have 3 types of molds you can prep for.
1) Imbedded. That's where you take your piece and imbed it into the clay or whatever medium you use to make your mold bed.
2) Resting. This is the easiest. This is where you seat your piece directly on the clay or other medium. Very light impression in the clay to hold it in place.
3) Elevated. This is where you have built up your piece so that it is elevated above the bed.
Examples...
 |
| Imbedded. Half the mold is imbedded into the clay bed. |
 |
| Left: Elevated above bed. Right: Resting on the bed. |
The one thing I HIGHLY recommend..is when orienting your master...choose the orientation that will hold the master the best once the first half of the silicone cures. This way, the master will stay in the silicone. You don't want that master to come removed or loose in the silicone before pouring the second half of the mold.
Personally, I do not like imbedding parts into the clay for that reason. It takes longer, but I prefer to build up and around the part being molded. It makes it easier to remove the clay bed after. And DO NOT FORGET to check the master. You want to brush it lightly to make sure no clay is sticking to it. That will form to the mold. Another reason why you want the master to be secure in the first half of the mold.
But for some items, imbedding is the perfect answer if you can remove the clay bed without disturbing the master.
Saturday, May 23, 2020
HOMEWORLDS STAND AGAINST COVID
I myself have not contracted nor has anyone else in my house contracted nor been in contact with anyone known to have the COVID Virus.
That said...When I make action figures the casts are washed with a non abrasive anti bacterial liquid soap. The parts are then assembled and AGAIN they are washed with a non abrasive liquid anti bacterial soap.
At THAT point the figures are handled with One use powder free nitrile gloves only.
They then get clear coated, allowed to dry, checked, tested and then packaged. They get handled as little as possible and every time a fresh pair of gloves is used.
I cant save the whole world...but I can do what I can in my little corner.
Stay Safe, Stay Healthy from Homeworld and Family
Friday, May 1, 2020
5 mm Peg Evolution


I have been doing back flips over this. I cast the 5 mm rod into the pelvis. Man this is the cats ass. It doesn't really add a lot to the over all production time and if anything saves me the job of sanding plus it stays on size.
Past figures will still have the solid color pelvis since they are already done...but all figures made from this point on will have acrylic clear arm pins and acrylic pegs. The one exception to this will be the painted figures. Painted figures will in no way have any consistency to 5 mm. If it is it is if it isn't it is what it is. Painted figures will be exactly that and will be offered later on at a lower price.
I tried to figure out a way to make it a U-paint-it kit but the rivets needing setting make that a trifle hard if you don't have a squeezer.
Anyways...here's pics of what I have been doing back flips over all morning. I just got the last clear urethane drop in and am now making the other parts of Roboid/Deimos. I'll be putting figures together by Sunday.
The clear pegs will also help lighten up darker tinted clear torso's without affecting the color. The pegs are notched and grooved to help make sure they stay in place and don't simply spin out. I checked the upper peg. Its in quiet tight.
Subscribe to:
Posts (Atom)